Well, folks, Oregon has decided to do it’s leap year impersonation of Alaska. Wednesday we got about four inches of snow (enough to pretty much crash the state) and since then it’s been COLD!
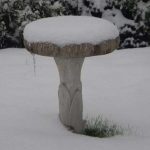
The snow has evaporated or melted some, but each evening everything freezes up again and now we have various levels of ice.
This is NOT bad news. For one thing, I LOVE the cold. I suffer all summer and come autumn and winter, I want cool (and prefer cold.) I love the rain, but the snow is so much fun. Entertainment and adventure in one white package! Also, I live very close to my job, so my commute has been a breeze (unlike many people I know.) (Note how I am patting myself on the back for my good planning.)
But, this weather bring other perks. Number one…
The Return of Ice Painting!
To remind the audience, a couple of years ago I experimented with ice painting. A few weeks later, we had another cold snap and I tried again.
I totally blame Liz Walker and Margaret Godfrey for getting me started with this. They were infected by Kathleen Conover. All three, however, have been very generous with their knowledge.
From Kathleen Conover I learned that the tough part of the process was the transfer of paintings from outdoors to indoors because when the water unfreezes it tends to pool and remove the crystal effect. Therefore, I know to babysit my paintings for a while after they make their move.
Liz Walker has been particularly generous. Here are a few of her tips:
- The biggest hassle is just mixing up the paints (Tara’s note: try to get them to a “pour” consistency reminiscent of 1% milk)
- Put down a tarp so you don’t get paint all over the patio.
- The effect is very subtle.
- Works well with pthalo blues/greens especially, but I’ve added azo nickle yellow (acrylics) for a nice effect.
- I do it on 140 wc paper (cold press or hot press) but Susan Cowan has good results on Yupo.
- When you bring them inside, QUICKLY move them to a utility sink because that ice starts to thaw and DRIP color everywhere. You might want to put them in a plastic dishpan in the utility sink to catch the excess drips.
- Except for Yupo, the patterns won’t drip off as the painting “melts”.
- Then just use some sort of soft rag or viva paper towels (because they have no texture/pattern) and press them over each wet painting so the excess water is off.
- Then just dry the papers flat and they will be ready to paint on!!
You’ll notice that Liz has a different impression of the “melting” watercolor that Kathleen. As my experience is more like Kathleen’s, however, I’m going to try to do a little babysitting with mine. I suspect part of the difference is that Liz has done more with acrylics and Kathleen says she sticks with watercolor.
So, do you want to see my experiments?
Elk
Also based on my previous experience, I decide to put down some masking and “paint” with images in mind, at least to start.

This image is from my trip last year to Reedsport. As I was rooting around choosing colors, I decided to try a freebie Daniel Smith trio (Rose of Ultramarine, Quinacridone Gold, and Cerulean Blue) from my October Francesco Fontana workshop.

So far, it’s looking good to me! Let’s hope it survives the trip to the inside.
Modern Charger
I liked where this was going so much I decided to invest some sleep time (I stayed up until past midnight!) and do a couple more. As horses are my favorite subject, I looked around from some pictures that might do well. And I remembered the beautiful Drum Horse stallion, Apollo, from June’s horse workshop.

At Liberty
What works is worth repeating, right?


Use it all up
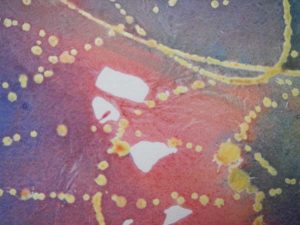
Of course, it’s good to have a plan for those extras. I ended up with masking fluid to use up, And it’s impossible to mix the right amount of paint. Here’s that result.

The best tip
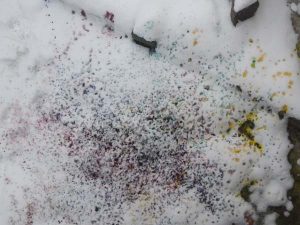
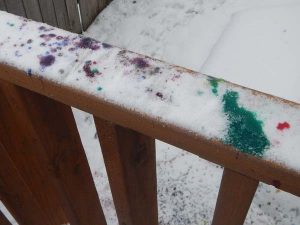
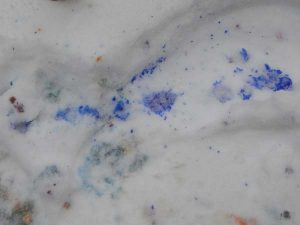
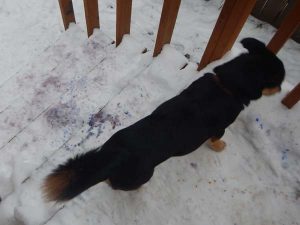
But probably the best advice is Liz’s tip about a tarp – because this is what my back stairs look like.
I just feel lucky the dog escaped getting painted.

These look like so much fun! I may have to give it a try. Can’t wait to see what you do from here!