Some of you may notice that I didn’t post last week. That was a deliberate decision on my part. I had made it through a week of work and then taught my breakout at the WSO convention. Sunday was designated for chores in the hopes that a four-day workshop with Linda Kemp (Negative Painting Addicted) would be as easy as possible. Hopefully, you’ll forgive me for not posting when you see the length of this post.
Exploring Value Studies with Liquid Charcoal
I volunteered to teach a breakout session at the WSO Fall Convention. It was my first attempt at teaching, and I am thrilled to report that it went okay. No one threw things. No boo-ing. In fact, most people looked like they were having fun. I had scheduled the pace to be brisk, so the class wasn’t doing any one thing for a long time. I usually had five minutes between exercises to go around to each person and answer questions or just provide encouragement. I had been worried that I wouldn’t be able to provide honest and encouraging feedback, but that wasn’t a problem. Each person had something in each of the exercises worth an honest, “Oh, I like that.” Some people had individual projects that turned out better than others, but the goal of the class was never to create masterpieces. I wish I had thought to grab some photos of peoples’ work, but I was too nervous to ask.
Linda Kemp: Negative Painting Addicted – preview
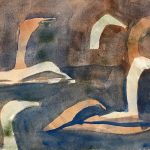
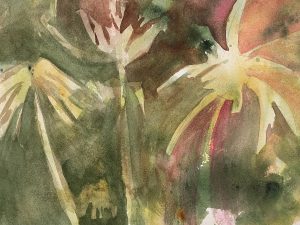
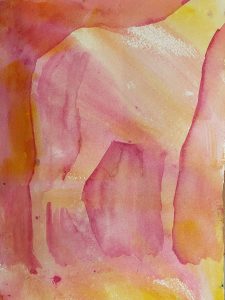
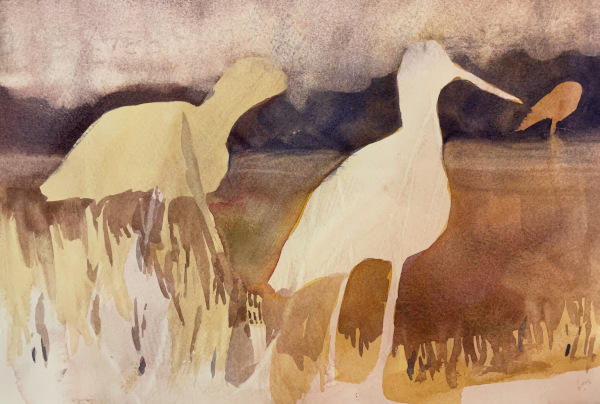
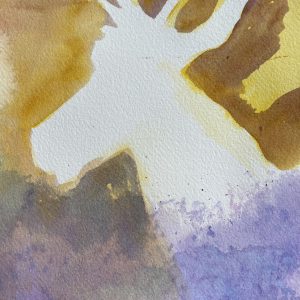
Saturday, after teaching my class, I had signed up to have Linda critique my image “Yellowstone Dancers” as part of the juror’s lecture.
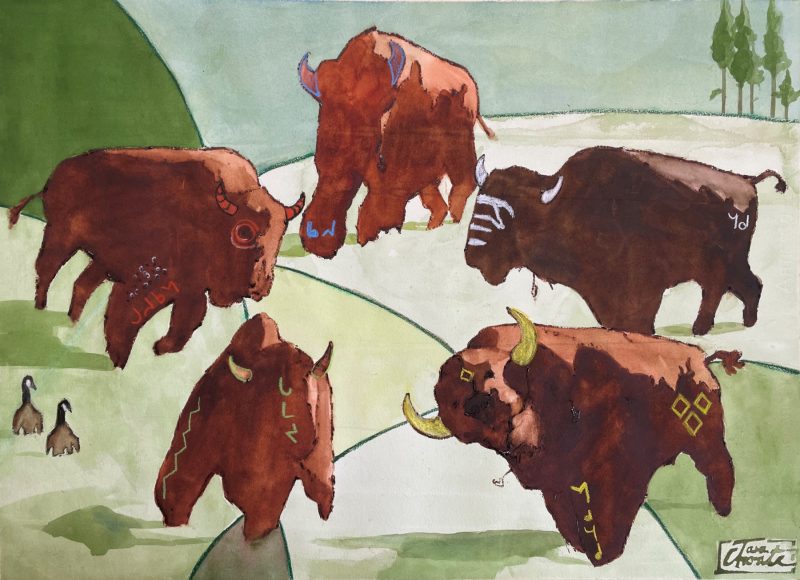
Because I had entered this image in other shows, and hadn’t heard back from them yet, I had NOT submitted this as one of my images for this show. Naturally, Linda loved it. She literally said there wasn’t anything she would change (though she did tell me not to be afraid to go darker.) Isn’t that always the way? The one thing you don’t enter…
While proud that she like the painting, I felt a little frustrated. I love this painting, but I’ve been hesitant to do more because it has received NO love from jurors. Obviously, that shouldn’t slow me down, but it does make hesitate. When I told Linda that, she said, “They just missed it.” I’ve often commented in the past about juror’s prejudice about animal paintings, and her remark reminded me that it’s a definite issue.
Linda Kemp: Negative Painting Addicted – Day 1
I arrived for Day 1 (October 10, 2022) very excited about the workshop. I had heard good things about Linda’s past workshops, and the fact this workshop sold out well before the deadline indicated her reputation was solid. For me, her style of painting was less important than the fact that she paints a lot of animals. It’s hard to find workshops that explicitly discuss animals, unless the focus is pet portraits. I hoped there would be teaching about design and meaning.
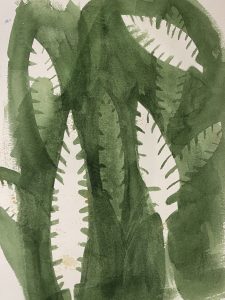
Linda is an instructor who liked to keep her students busy, which I wholeheartedly approve of. She started us right off on the fundamental basics of negative painting.
The basic idea of negative painting is that you start off with base, then add layers of shapes. “Where does the color go? Around the shape,” Linda repeated several times a day. After the initial lesson, Linda encouraged us to use our own reference photos and work through some basic exercises.
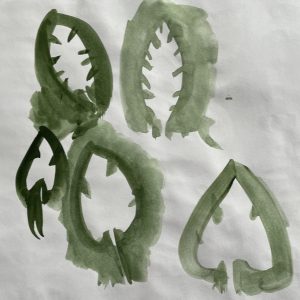
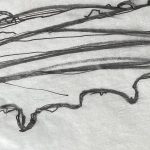
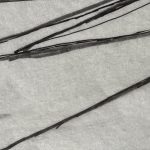
After lunch, Linda had the class do a series of brush exercises. While these felt basic, I think the results show that I could use the practice. Knowledge of these strokes would become important later.

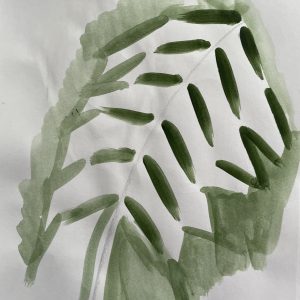
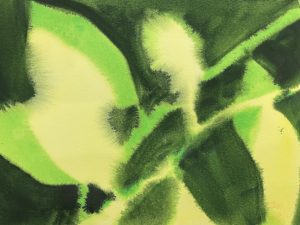
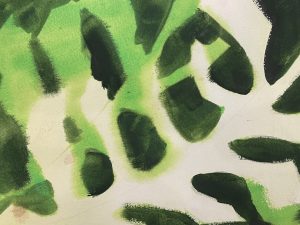
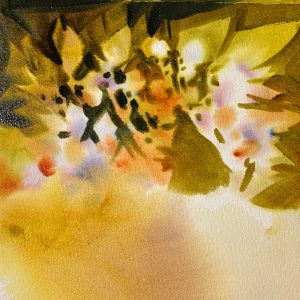
From there, Linda eased the group into aligning these strokes into leaves. “Where does the color go?” As she pointed out, leaves can be as simple or complex as we make them, the key is to assemble them.
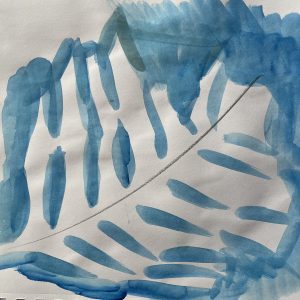
With the remaining time, the class worked on projects created throughout the rest of the day. I found myself working on these two paintings, concentrating on brushstrokes.
Linda Kemp: Negative Painting Addicted – Day 2
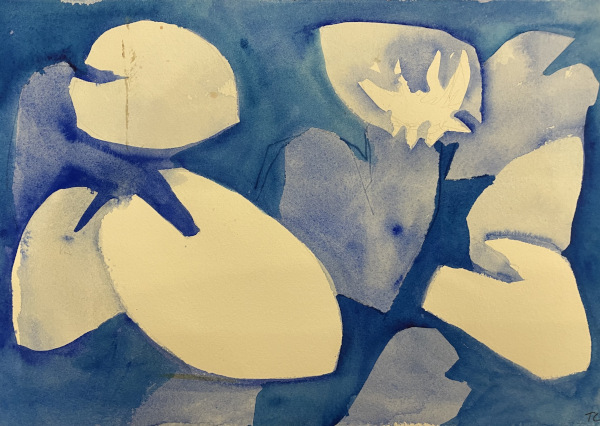
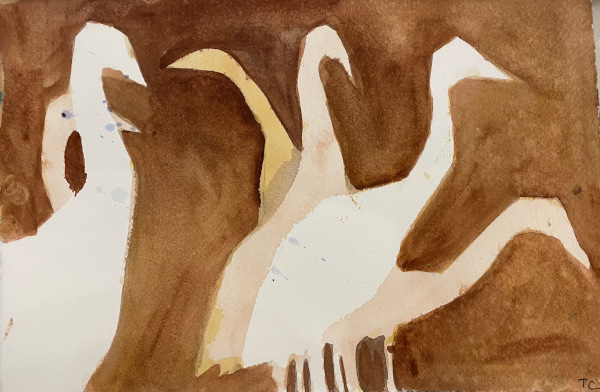
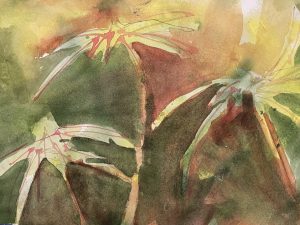
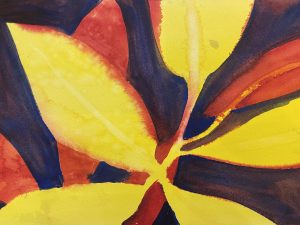
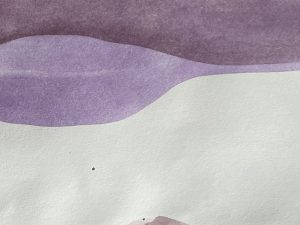
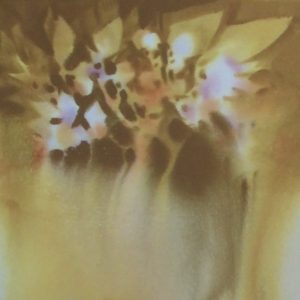
Here’s the bad thing about writing about a workshop after an event. Things get fuzzy. I believe I started out the day working on these. The essential idea being to start work on a toned surface and place the desired negative shape on an appealing part of the toned surface.
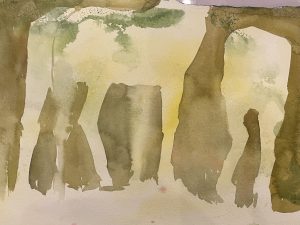
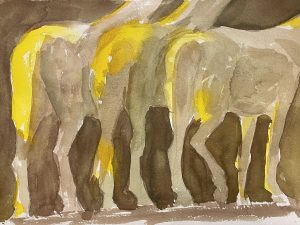
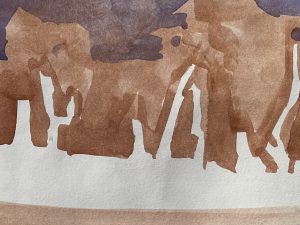
I am sure that somewhere in there, Linda gave a lecture on color theory. I know the horses above were impacted by this lecture; I just can’t figure out which came first.
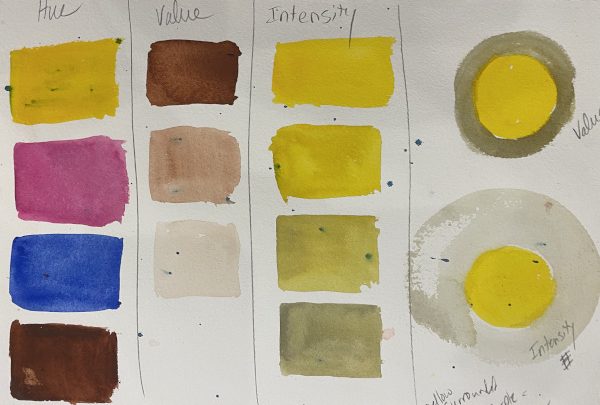
Her point was that, as painters, we spend a lot of time worrying about value, but it is possible to do paintings based on hue or intensity. She also talked about using colors at their brightest and how simply adding water adds a slight gray cast to them.
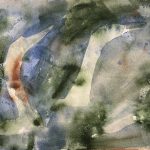
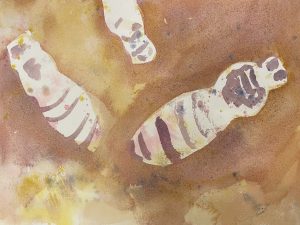
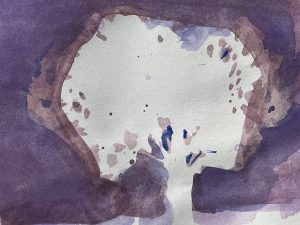
In the afternoon we worked on a technique Linda called “wet into wet.” I added the quotation marks because it is slightly different than what is usually meant by working wet into wet. For Linda’s version, the idea is to have a base layer that is still wet (paper wetness is a very important element in this, which I did not master) when you put on the second coat, using very strong pigments with a minimum (preferably none) of water. As you can see below, I had too much water on my brush… and paper… and paint. The third piece was better, but only because I put the third layer on when it was dry.
From here we were encouraged to use this technique to work on our own reference material. I chose a beehive I had photographed once.
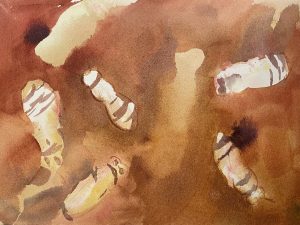
I probably should have stuck to something I knew, such as horses or birds. The idea was that the honeycomb under the bees would be the darkest. Unfortunately, I struggled with wetness and we moved on before I could completely solve the problem. Linda came by and said this to a (very discouraged) me: “You are doing complicated shapes. But I’m not discouraged. You have the idea.”
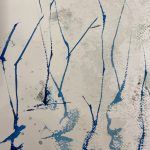
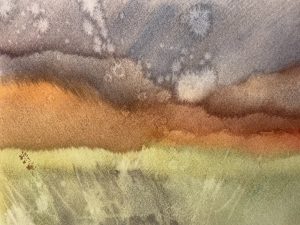
The final exercise of the day was about paint movement. Linda showed us a method of letting the paint “to its thing” in a controlled manner.

The concept idea is to collect three, freshy, blobs of paint color on a round brush. It’s important to have at least one “base” color and one “takeover” color. A base color is a color that has a strong granulation factor: Ultramarine Blue, Burnt Sienna, Yellow Ochre. Linda called them the soil colors. The takeover colors are almost everything else, but in particularly the quinacridones, phthalos, and other paints that have a lot of syllables. The base colors slow down the speedy takeover colors, creating a pleasing mixing factor as they blend while following the water. Using the comma stroke learned on day one, the globs of paint are deposited on a wet piece of paper. Then the artist can allow gravity to do its thing or direct the flow in a desired direction. At a dryer point, use a slightly damp brush to pull up marks that may indicate foliage or other desired attributes.
This was my most frustrating day. Water “rightness” was intrinsic to most of the techniques, and due to a combination of equipment, habit, and lack of practice, I was not successful. Luckily, a good night of sleep left me in a better place on Wednesday morning.
Linda Kemp: Negative Painting Addicted – Day 3
Linda started the day with exercises intended to start pulling together the lessons we had learned over the last couple days, specifically focusing on layering and suggestion. I elected to work in my notebook as opposed to a good piece of paper, so the paint quality on these is not fabulous. The first three are from Linda’s examples, the last five from my reference photos.
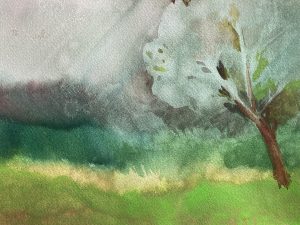
From here, I was inspired to work on this piece, which is among my favorites for the workshop. (Note: The reference photo for the birds had them with tucked heads, which doesn’t work as a painting.)
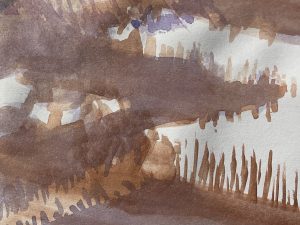
After the initial shape, Linda provided a demo that mixed the negative painting, foliage, and paint movement. Unfortunately, I only have a photo of the first two. After the initial dry, Linda added more “movement” dots and worked the paint into a sort of curve which she pulled some branches from.
The really embarrassing part of telling this is that I’m still not sure how she got from the first photo to the second. I can SEE that she added layers, but I don’t logically understand how she got from the reference photo to here. And turned it into something appealing, because initially, I had my doubts.
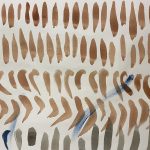
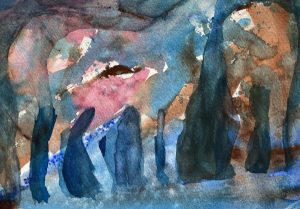
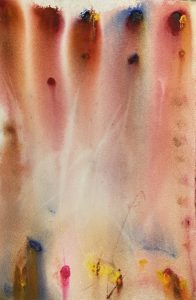
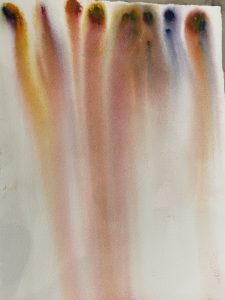
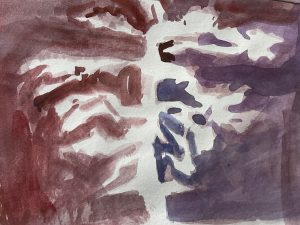
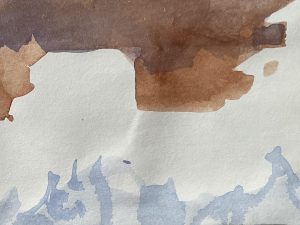
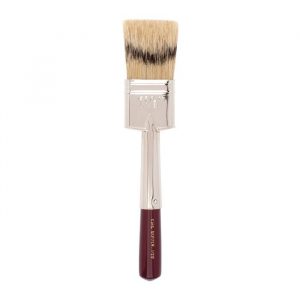
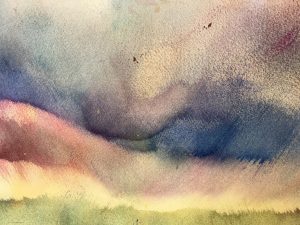
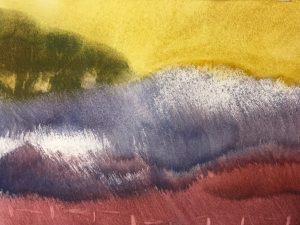
After lunch we moved into a new lesson, which I will call paint pushing. Using a Cheap Joe’s Skipper Brush (or similar) the paper is wetted and then color applied in downward strokes. Working up the page, when one layer is finished, the artist does a shift and “pushes” the new paint color into the old paint. The result a pleasing mix of texture and color.
Once the page is finished, and that’s pretty quickly, we were encouraged to go back and lift out shapes.
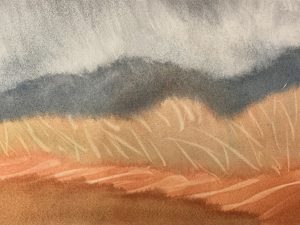

This was the most straightforward lesson, but also the one that I need to think about how to use.
Linda Kemp: Negative Painting Addicted – Day 4
The final day of a workshop always has a slightly odd feel to it. Lingering matters are addressed, such as a group photo. Ending logistics about cleaning up and timeline are addressed. Thank yous said. Addresses exchanged.
But the real tension of the day has to be the teachers. Can she pull it all together and give the students an opportunity for a masterpiece?
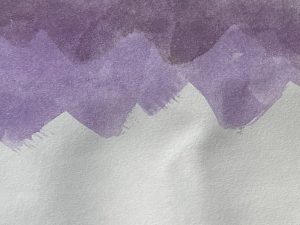
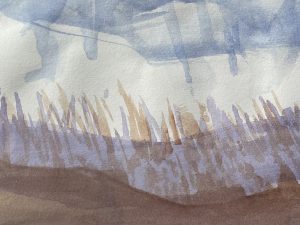
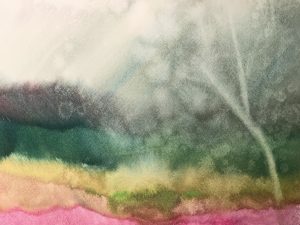
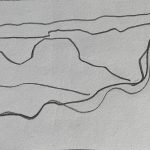
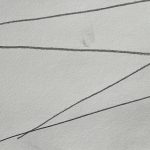
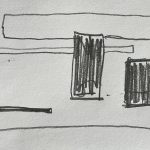
Knowing that we had created a large pile of starts the day before, Linda led us through an exercise on simplifying the landscape. Using tracing paper, we were to trace our reference photo using big lines. Then we were to repeat that using only 1) curves, 2) triangles (angles), and 3) squares/rectangles.
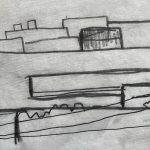
Then, using this exercise, Linda demonstrated “catching an edge.” The idea is to take the highly suggestive backgrounds created by pushing paint and develop them into an actual painting with the judicious use of the same color and a few negative shapes to complete the suggestion.
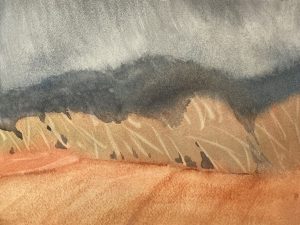
As with many things about this workshop, I understand the concept, but my execution is shaky.
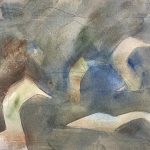
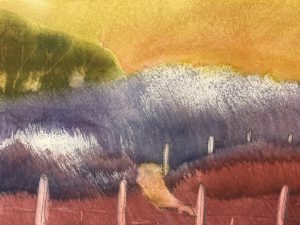
To conclude, Linda asked us to do some free painting. I worked small and concentrated on developing the idea of layers and negative painting with animals.
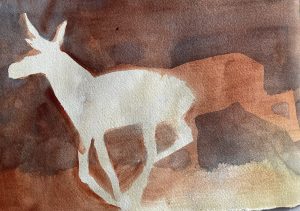
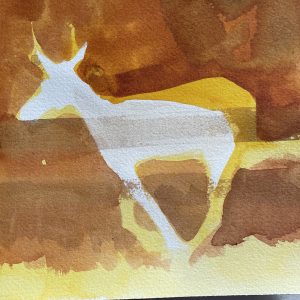
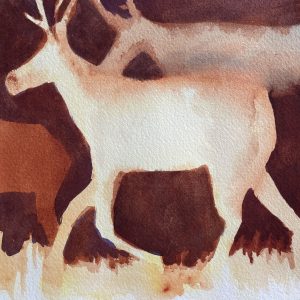
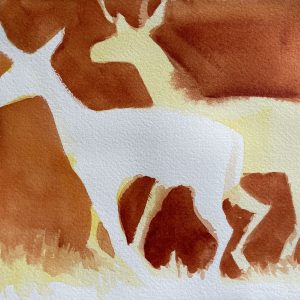
At some point Linda came over and we talked about “Yellowstone Dancers” and working more in that series, but maybe like this. I asked some questions about where she would use symbols, and she encouraged using them “negatively” instead of putting them on the animal. In Pronghorn Antelope 2 you can just see where we talked about horizon lines and symbols.
Finally, on a note of real excitement, I finally got a “label” (see previous posts about my longing for this). “You’re a good shape maker,” Linda told me.
Conclusion
I would wholeheartedly recommend Linda Kemp’s workshop to another painter. It was well worth it. I learned a lot and have things to take home and explore. Linda herself was warm, competent, and organized. She walked the line between allowing each painter to do what appealed to them and having the entire class following an exercise. Additionally, WSO and the volunteers did a great job with all the logistics, and the facility was very comfortable.
The one disappointment, for me, is I didn’t really get a chance to have the kind of conversation I wanted to have about painting animals. It’s not a completely feasible desire. In a four-day class, with six hours of scheduled learn time, and twenty-five students, Linda could provide one hour to each student and do nothing else; or she can move the entire class along and have snatches of conversation. She made the right choice, but I’m still wishing for just a smidge more.
That smidge is going to have to come from me. I have oodles of ideas and techniques to explore, not just from this class, but from many others. With my volunteering off the plate, my move completed, and nothing really on the schedule until the spring, I’d like to take the winter to develop some ideas. I’m going to try to make 2023 workshop-less, but no promises. I need to get in touch with my own painting style.
I enjoyed sharing a table with you at the workshop and I really appreciate your detailed notes on what we covered over the four days.
Like you, I had an idea I wanted to work on, but found it too complicated to undertake, given the pace of the workshop. With winter coming and a finished workshop to move back into (thanks to the solar installation contractors who essentially rebuilt the back wall of the garage in the process of installing an upgraded electrical system), I’m hoping to build on what I learned.
Thanks for all your positive input and kindness during the workshop.
I’m so glad to see the painting you talked about; the buffalo one that apparently didn’t get into shows. Clearly a lot of jurors just don’t “get it.” This is a wonderful painting and it deserves to be “out there” for public viewing and appreciation.
Hi Tara, excellent article! Congrats on teaching your first breakout session! You have a definite style which I like. I think your animal shapes are well suited to negative painting and I look forward to seeing more!